If you’re using the stripped down version of Windows 10 ( without having applied any major updates), there’s no quick way to switch between several audio outputs. The only way to do it is to right-click on the volume icon and then changing the default output device from the system settings. If you’re looking for a quick way to switch between the device you play your audio through, use one of the methods below.
Method 1: Using the native audio switcher
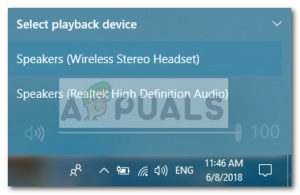
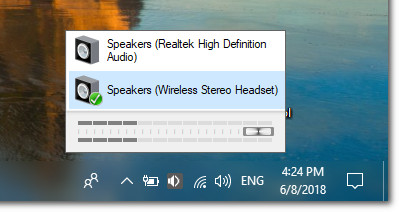
Because there was a lot of backlash on Microsoft’s decision to exclude a fast audio switcher from Windows 10, the developers finally set the record straight with the Anniversary Update. If you already applied the Anniversary Update, you already have the Windows 10 native audio switcher. To use it, simply click on the volume icon in your system tray. At the top of the volume menu, you should notice an arrow pointing upwards. Click on it and Windows will show you a scrollable list with all the audio devices that you currently have plugged in. Simply click on an audio device to switch the audio to it. As you can see, this is much easier than having to dig through the sound settings. If you don’t have this feature on your Windows 10, open up a run box (Windows key + R), type “ms-settings:windowsupdate” and hit Enter to open Windows Update. Then, hit the Check for updates button and follow the on-screen prompts to let your operating system apply every update until your system is up to date. If you’re not keen on applying the Anniversary update, or you’re just looking for a different alternative, move down to Method 2.
Method 2: Creating a Sound Settings shortcut
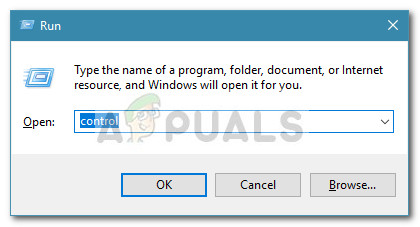
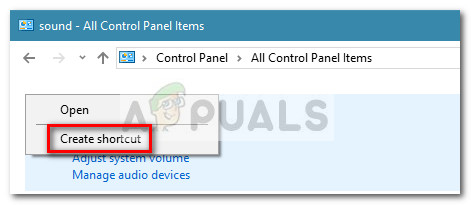
If method one was not applicable and you prefer staying on the native channels, you can also create a shortcut of the Sound menu and place it on your desktop for easy access. Here’s a quick guide on how to do this: If you’re looking for a different audio switcher, move to Method 3 for a third party solution.
Method 3: Using a third-party solution
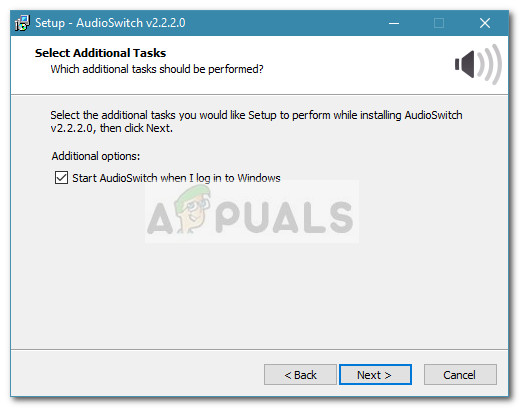
If the methods above haven’t been satisfactory, you can always opt for a third-party solution. Auto Switch is an extremely lightweight program that adds the auto-switch feature on Windows 10 for those users that haven’t applied the Anniversary Update. To use Auto Switch, simply navigate to this GitHub link (here) and download the latest version available. Keep in mind to download the setup executable and not the source code. Next, double-click on the setup and follow the on-screen prompts to install the software on your system. Once the software is installed, you will notice a new sound icon in the tray menu. A simple click will reveal your audio output options. Clicking on any of them will switch the audio to it.
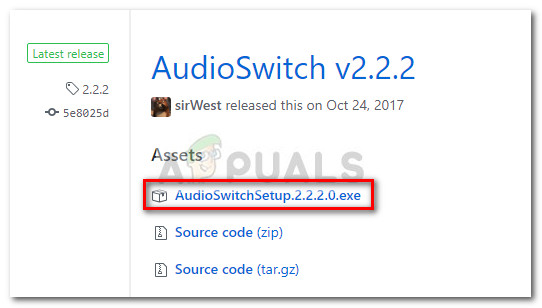
If you’re not happy with the interface, there are other third-party alternatives that will help you accomplish the same thing. Audio Switcher is also free and features a more complex interface. You can also use Audio Switcher (same name, different developer) but there’s no installation available so you’ll need to re-build the project yourself in Visual Studio.
Windows 10 August Update Breaks Alt+Tab Task Switcher Functionality: Here’s How…Fix: Windows Failed Fast Startup Error 0xC00000D4How to Disable Fast User Switching on Windows 10How to determine true audio quality of streaming audio