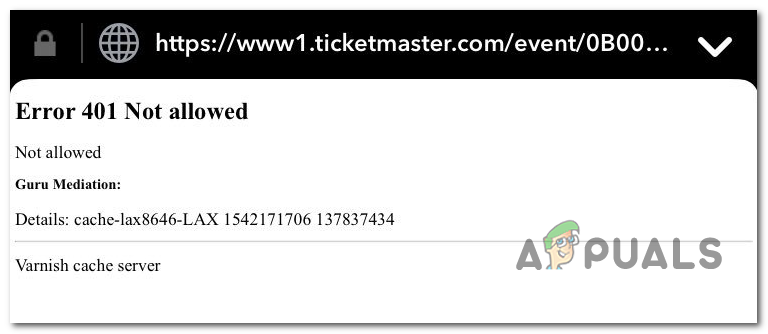
In most user-documented cases, Error 401 Not Allowed will appear due to a temporary cached file or cookies that were created by the TicketMaster system. To fix it, all you need to do is to follow a set of instructions to clear your browser cache & cookies. Keep in mind that TicketMaster is very strict with users that are using Proxy servers or VPN clients. If you’re using one, you might need to disable the surfing anonymity solution before being able to access the TicketMaster platform again. In other cases, affected users have reported that a network inconsistency was responsible for triggering the Error 401 Not Allowed. Most users have managed to fix the issue in this case by restarting the networking device. However, the error that you’re seeing can also be the result of a temporary ban that was enforced on your account. If this scenario is applicable, you’ll need to wait 24 hours for the ban to expire or you’ll need to create a different account (if you can’t afford to wait).
Method 1: Cleaning your Browser Cache & Cookies
As it turns out, this particular issue can very well be caused by a temporary cached file or a cookie created by the TicketMaster service. Since there are a lot of user reports of this kind, it’s very likely that TicketMaster has a tendency of creating corrupted cookies that will end up blocking the user’s ability to book and purchase tickets from within the platform. Fortunately, several affected users that encountered this issue have confirmed that they managed to resolve the issue by accessing the browser’s settings and clearing the cookies & cache folders. However, the steps of doing so will be different depending on the type of browser that you’re using. To accommodate every possible scenario, we’ve compiled several sub guides that will allow you to clear the cache & cookies of Chrome, Firefox, Edge, Internet Explorer, and Opera. Follow whichever guide is applicable depending on the browser that you’re using.
Cleaning the Cache & Cookies of Chrome
Cleaning the Cache & Cookies of Firefox
Cleaning the Cache on Opera
Cleaning the Cache on Internet Explorer
Note: The instructions below will apply regardless of the version of Internet Explorer that you’re using.
Cleaning the Cache on Edge
In case you’ve cleared your browser cached data\ & cookies and you’re still encountering the Error 401 Not Allowed, move down to the next potential fix below.
Method 2: Disabling VPN client or Proxy server (if applicable)
If clearing your browser didn’t resolve the issue for you, keep in mind that the TicketMaster Platform doesn’t play well with Proxy servers or VPN clients. And as it turns out, a lot of anonymity services are outright being blocked by this ticketing platform. Several affected users have reported that they’ve only been able to resolve the issue by disabling their proxy server or VPN client that they were using. The good news is, you only need to disable it while you use the Ticketing platform (you can then enable it again). We created two separate guides that will help you disable your VPN or proxy server in case you’re using one.
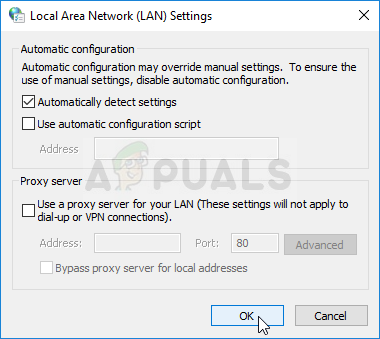
Disabling Proxy server
Disable / Uninstall VPN client
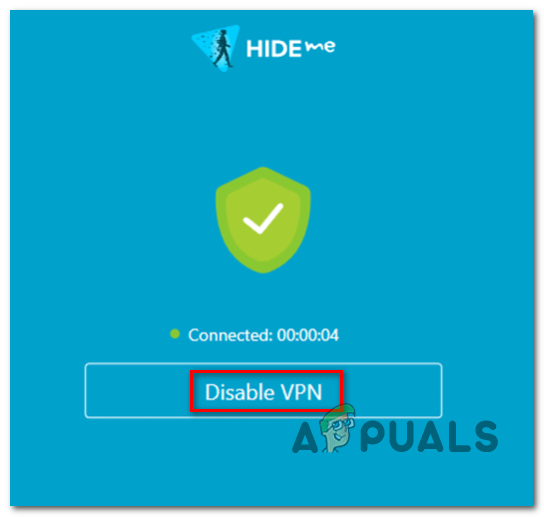
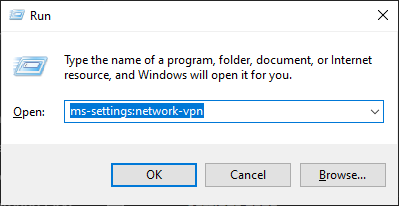
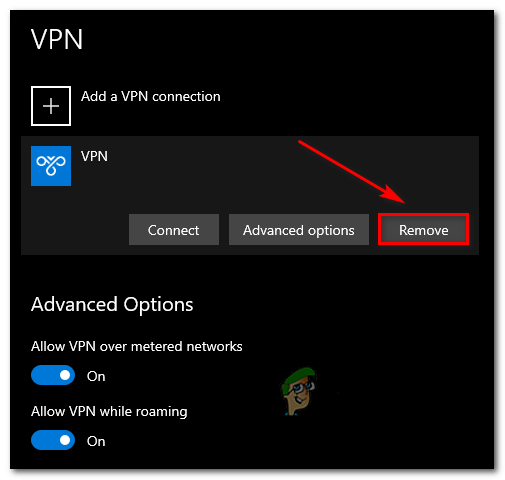
The steps of disabling your VPN client are dependent on the type of implementation that you’re using. If you installed a desktop VPN client, you will need to access the specific settings menu and disable the VPN connection from there. However, if you have set up a VPN connection through the Windows 10 built-in feature, here’s a quick guide on disabling it:
Method 3: Restart your Router/modem
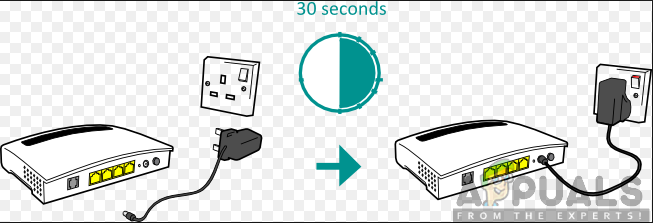
As it turns out, the Error 401 Not Allowed might also be resolved by restarting your networking device (router or modem). It’ s possible that a network inconsistency ends up preventing some information packets from being sent to the server. If this scenario is applicable and your ISP has no issues currently, you should be able to fix the issue by forcing a network restart. To perform this procedure, simply press the On/Off button once and wait for 30 seconds or more before pressing it again. Additionally, you can simply disconnect the power cable from the power outlet, wait for half a minute and then plug it in again. If you already did this and the Error 401 Not Allowed is still appearing when you try to use the TicketMaster platform, move down to the final method below.
Method 4: Wait 24 hours
As it turns out, the TicketMaster platform might trigger the Error 401 Not Allowed in instances where the filtering algorithm things that you are a bot. In most cases, this will happen if you refresh too many times or you access the same page with multiple devices that end up pinging TM with your code. If this scenario is applicable and the filtering algorithm has triggered the lock, you have no alternative but to wait for the temporary ban to expire. In this case, the issue will be automatically resolved after 24 hours. Keep in mind that bypassing the temporary ban is risky and hard to do since blockage is enforced on your account rather than your IP. The best way to resolve the issue, in this case, is to simply wait for the time period. And in case you can’t afford to wait, create a different account and get your tickets with that one.
Resolve Ticketmaster Error Code 0007 (Fix)How to Fix 401 Unauthorized Access ErrorHow to Fix Ticketmaster Error Code 0011What Is: Error 405 Method Not Allowed