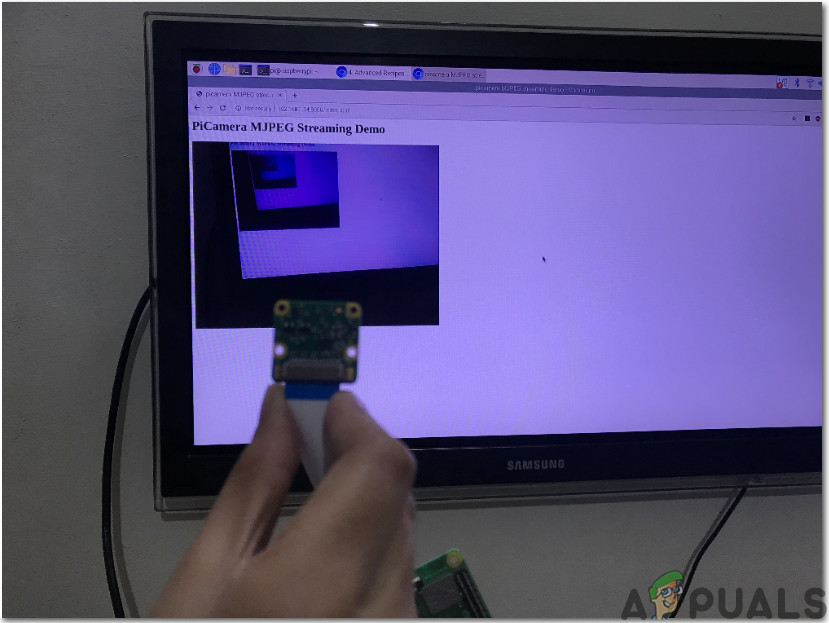
How To Setup Pi Camera For Live Streaming?
The best approach to start any project is to make a list of components because no one will want to stick in the middle of a project just because of a missing component.
Step 1: Components Required
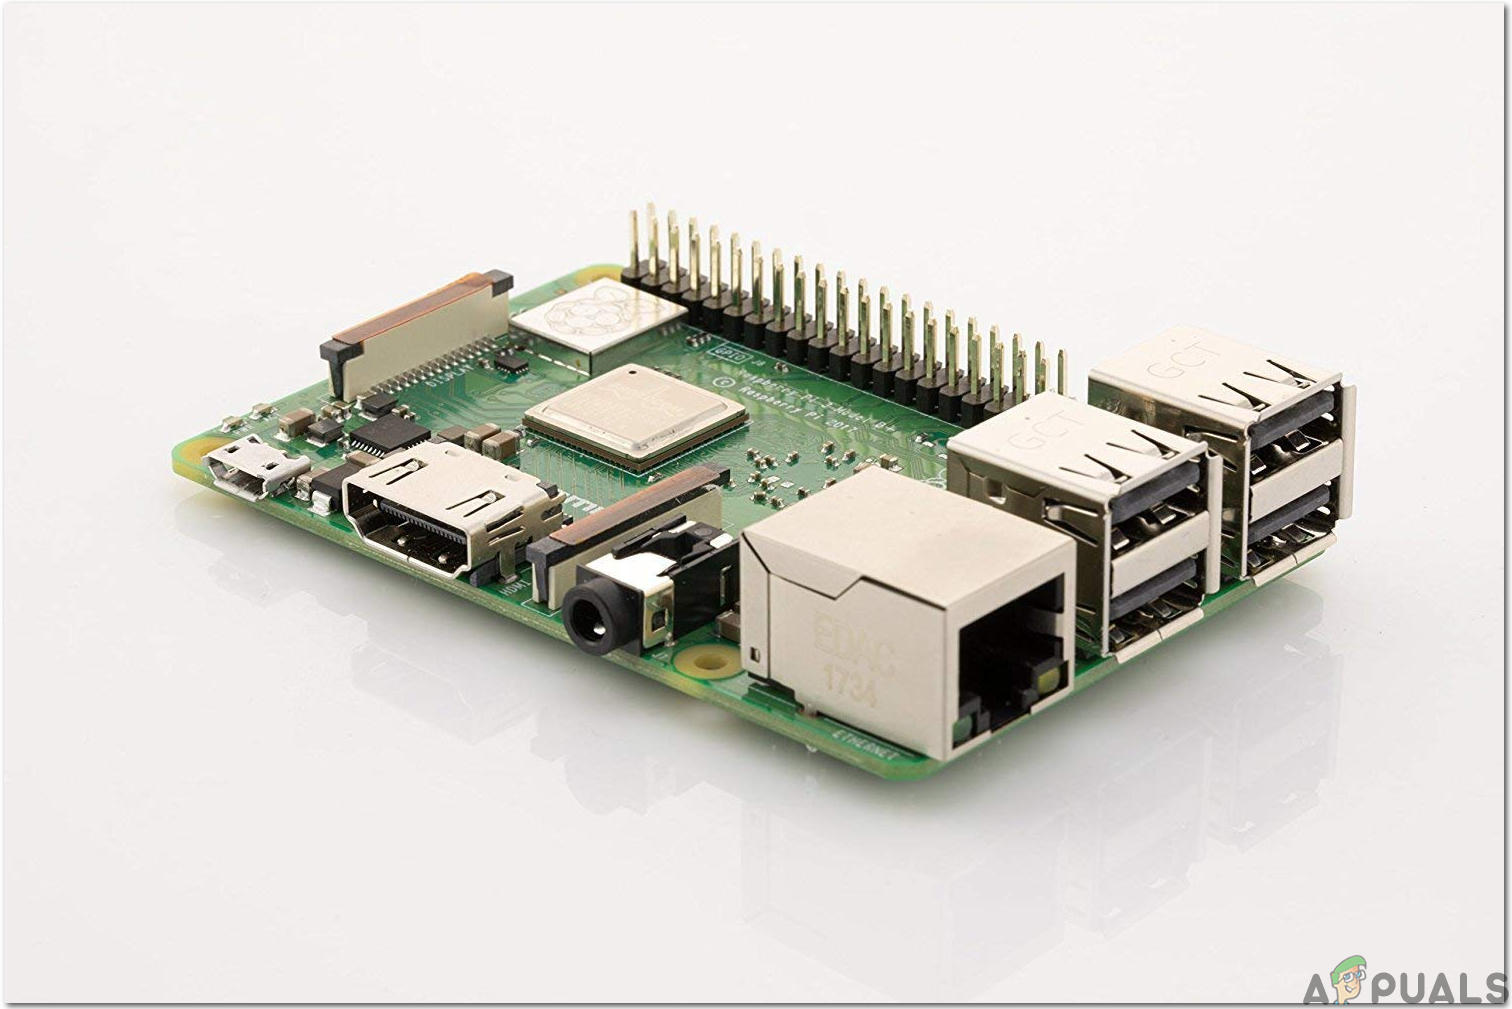
Step 2: Selecting the Raspberry Pi Model
The selection of Raspberry Pi is a very technical task and it should be done carefully so that you don’t suffer in the future. The Raspberry Pi Zero is not preferred because it is the oldest model available in the market with a limited amount of specifications and setting up a network on it is a very tiring job. The latest models like 3A+, 3B+ can be purchased. The Raspberry Pi 3 is the quickest and most dominant gadget the Raspberry Pi Foundation has released to date. So, in this project, we will use the Raspberry Pi 3B+.
Step 3: Setting Up Raspberry Pi
There are two options for setting up Raspberry Pi. First, one is to connect your Pi with LCD and connect all the necessary peripherals and start working. The second one is to set up Pi with the laptop and access it remotely. It depends on the availability of LCD, if you have it at home then you can set up your Pi by using an LCD. Connect the LCD to the HDMI port of the Raspberry by using HDMI to VGA adapter. If you want to access your Pi remotely follow my article named “How To Access Graphical User Interface (GUI) Of Raspberry Pi Using SSH And VNC Viewer?”. In this article, a detailed setup of Pi with a laptop is described and after logging in you would be able to gain the remote access to Pi.
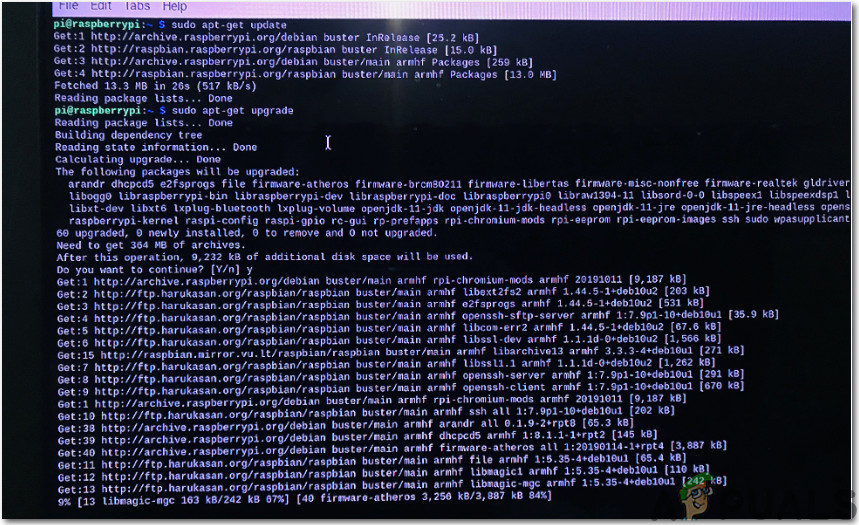
Step 4: Make Sure That Raspberry Pi Is Up To Date
After setting up Raspberry Pi we would ensure that our Pi is working fine and all the latest packages are installed on it. Open the Command Window and type the following two commands to update Pi. Then, If any updates are installed, press Y and then press Enter to continue downloading updates.
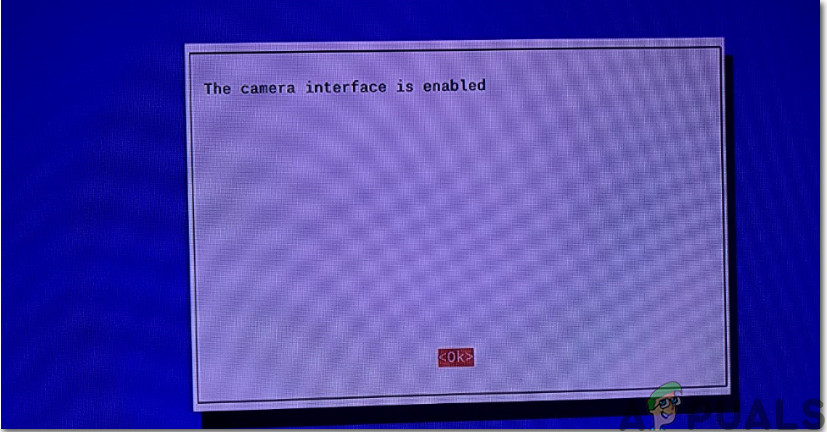
Step 5: Enabling The Raspberry Pi Camera Module
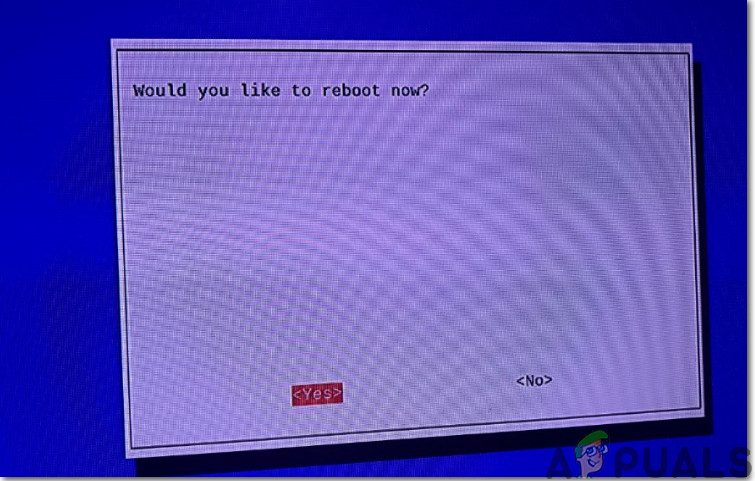
We need to enable the Raspberry Pi camera module before using it. Close the command window after updating the packages and click on the Raspberry icon on the top left corner of the Desktop Screen. Scroll down to the Raspberry Pi Preferences, click on the Interfaces option and enable the Camera from there. It can also be enabled by typing the following command in the Terminal window: After typing this command we will see that the Raspberry Pi Software Configuration Tool is opened and scroll down to Interfacing Options and press Enter. A new screen will appear and we would see the Camera mentioned at the top. Press Enter: After enabling the camera the Pi needs to be rebooted for the changes to take effect. We will reboot our Pi before proceeding further and it can be done by typing the following command.
Step 6: Noting Down IP Address Of Pi
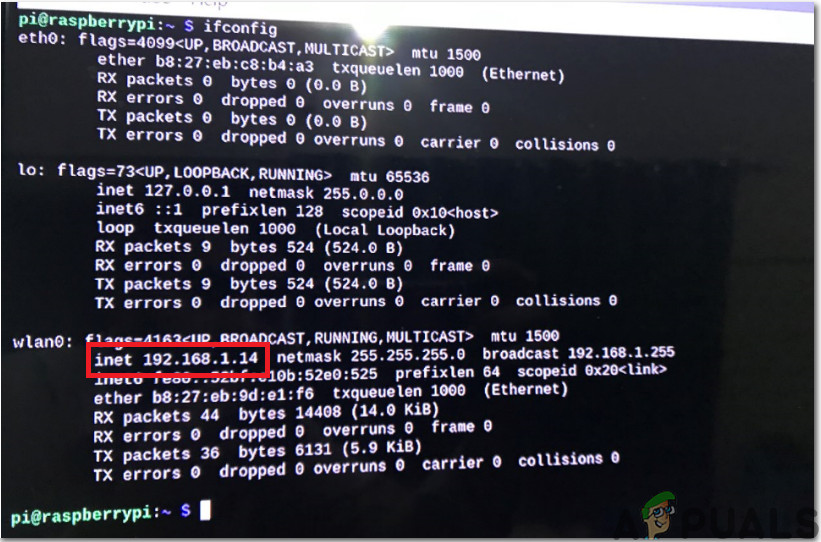
We need to access the video streaming webserver later hence we need to know the IP address that is assigned to the Raspberry Pi. As we have already found out the IP address while setting up our Pi we will note it down and proceed further. There is an alternative way of finding out IP address too and that is to type the following command in the Terminal window after setting up Wifi on our Pi. In my case, the IP Address assigned to my Pi is “192.168.1.14“.
Step 7: Connecting The Camera Module
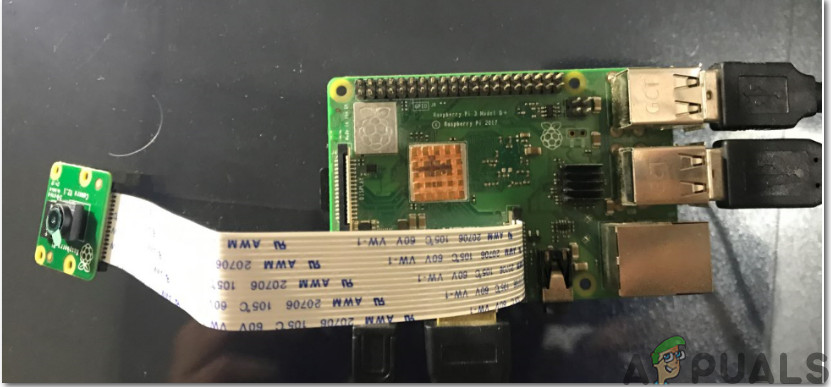
Now, we are ready to plug our camera module into the Pi but before doing so be aware that the camera can be harmed by electricity produced via static charges. Before taking out the camera from its grey packet ensure that you have discharged yourself by touching some earthing material. While installing the camera shut down the Pi and connect the camera to the CSI port of the Pi and ensure the camera is associated in the correct direction with the strip blue letters facing upwards as shown in the figure below.
Step 8: Looking For Suitable Format For Web Streaming
It is a bit tough task because there are no video formats that are universally supported by all of the web browsers. HTTP was designed to serve web pages initially and since its launch, many additions have been made for catering file downloads, live streaming, etc. Hence, keeping in view this issue we would stream our video in a simple format named as MJPEG. The code that is mentioned in the next step uses the built-in http.server module to make video streaming much easier. A suitable format with code can be found out at the official Picamera website.
Step 9: Writing The Script For Video Streaming
We need to write the script for video streaming and it can be found out on the official PiCamera website. Firstly, create a new file named as rpi_video_streaming.py by typing the following the command in the Terminal window: After creating the file copy the code mentioned below or download the Code from Here. If you are downloading the code from the link then scroll down the webpage and check 4.10. Web Streaming part. After pasting the code in the new file created press Ctrl+X, type Y and press Enter.
Step 10: Running The Video Streaming
After saving the script we will run it using Python3 by typing the following command:
After writing this command our script will start running and now we can access our web server at http://
Step 11: Giving Final Touches
As we have tested our Pi camera and came to know that it is working fine we are ready to install it at a suitable place. It may be installed near the gate of the house so that we could monitor every person that is entering or leaving the house. All we need is to power ON our camera by using the adapter and it would be better to put it inside a casing and just leave the camera side open for video streaming.
Applications
How To Perform Time-Lapse Photography Operations Using Raspberry Pi?How To Make Home Theater Using Raspberry Pi?How To Make IOT Smart Garage Opener Using Raspberry Pi?How To Access Graphical User Interface (GUI) Of Raspberry Pi Using SSH And VNC…