Yet despite the many benefits, webcams can also be a threat. Malware on your computer can target your webcam, turning it on without your knowledge and allowing others to spy on both you and your home. Blocking the lens of your webcam using a piece of opaque tape or a custom-made cover is a quick and easy way to protect your privacy, but if you want a more effective and permanent solution to the problem, you need to learn how to disable a webcam. For all the steps listed below, you’ll usually need administrator level access. It’s important to note that, in the majority of cases, a computer’s webcam and microphone are connected so disabling one will automatically disable the other.
How to disable a webcam on a Mac
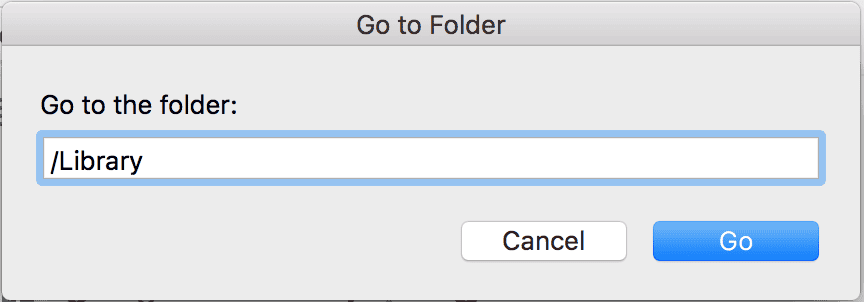
In recent years all Mac laptop and desktop computers, with the sole exception of the Mac Mini, have been supplied with a built-in iSight camera, chiefly for use with Facetime and a range of web-based applications. The most straightforward way to safeguard your privacy is to go to the Parental Controls settings and click on the box marked ‘Disable built-in camera’, but this only works if you are certain no one else has access to your computer. If you want to be sure to disable your iSight camera, either on a temporary or permanent basis, you’ll need to remove a key file from inside the system library folder on your hard drive. The Library folder is now hidden by default to prevent accidental access. It’s important to note that files within these folders are crucial to the operation of your computer and that you should only proceed with extreme caution. To access your Library folder, begin by making sure the Finder menu is being displayed on the top left of your screen by clicking on the Finder icon. Click on Go and then select the option Go to Folder from the drop-down menu. Type /Library into the search box that appears and click OK. The Library folder will then open in a new window.
Scroll down the list of contents of Library until you find a folder named QuickTime then double click to open it. The key file inside the QuickTime folder is named:”QuickTimeUSBVDCDigitizer.component”. Select this file by clicking on it and then press Command + c to make a copy of it. Create a new folder (Command + Shift + n) and paste the copied file (Command + v) into it. Name this folder “webcam backup”. This makes it easy to restore your webcam in the future should you ever change your mind. Once you have made a copy, return to the Quicktime folder and delete the original file. If you then try to use your webcam you’ll receive a message informing you there is no longer any camera available on the computer.
How to disable a webcam on a Windows PC
In the case of a Windows PC, you can disable your webcam by using Windows Device Manager. This can be found by opening the Control Panel followed by the System and Security folder, followed finally by the System folder. Open the Device Manager and look for an entry under “Imaging devices”. Your webcam should be listed and, once selected, you’ll have the option of either disabling it or removing it completely from the list of devices used by your machine. Has your privacy ever been compromised by a webcam? Have you used the above methods yourself or do you know of other ways to disable a built-in camera? Become part of the conversation by adding your own comments and experiences in the box below. Δ Contact Us :- trendblog.guest@gmail.com