Playing as the default Minecraft character Steve simply screams beginner, but not many people know how they can change their character seeing as though it’s not really something any person new to Minecraft would know. Well, the default Minecraft character, Steve, is the default skin for Minecraft players, and since that is the case, you can change your character in Minecraft by simply changing your character’s skin. If you do not know how you can change skins in Minecraft, here’s how:
Step 1: Download the skin you want to use
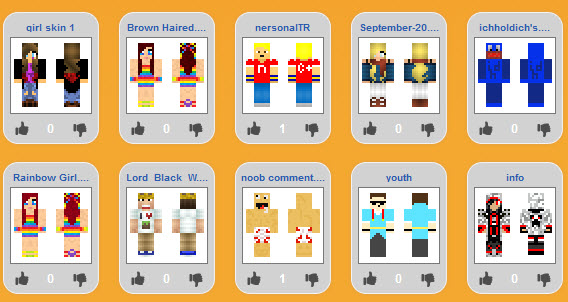
First and foremost, you need to download the skin that you want to replace Steve with. To do so, simply navigate to a trustworthy website that hosts Minecraft skins that are free to download – websites such as Skindex and MinecraftSkins, pick a Minecraft skin that you like and download it. A Minecraft skin is basically a very small image in .PNG format that, when opened in an image viewing application, looks like an unassembled paper doll.
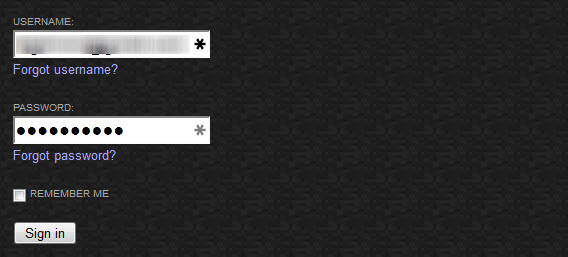
Step 2: Login to Minecraft.net
Once you have downloaded the Minecraft skin you want to use, navigate to the official Minecraft website (www.minecraft.net), click on Profile at the top of the page and login to the website using your Mojang account. It would be prudent to note that your username is the email address you created your Mojang account with.
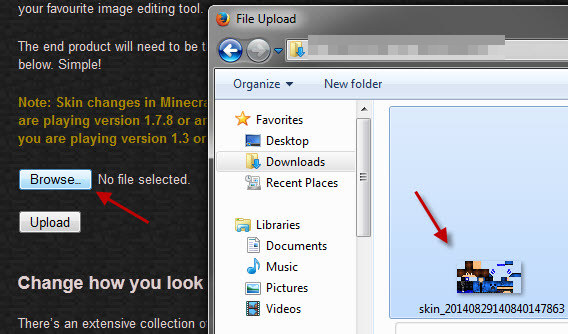
Step 3: Upload the downloaded skin to your Minecraft Profile
Once you have been logged in, click on the Browse button on the Profile page, navigate to the directory where you downloaded the skin you want to use, select the skin, press Enter, and then click on Upload on the Profile page. The skin will have been uploaded when you receive a confirmation message. As soon as the skin has been uploaded, your character in Minecraft will have changed.
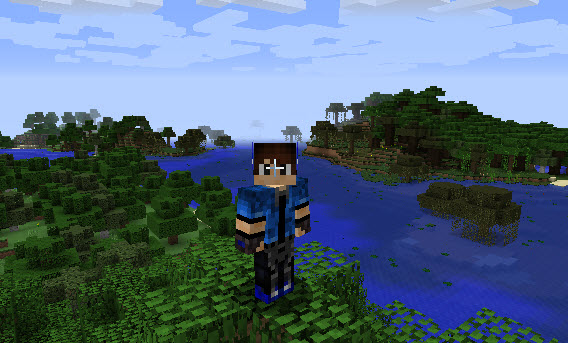
Step 4: Open Minecraft to check out the change
Open Minecraft. If you’re already playing the game, leave and then enter again. Load up a world – any world – and you will see that your character has changed and is now the skin you downloaded instead of Steve. To be able to look at your character’s new skin in all its glory, press F5 and you will be able to see the skin in its entirety.
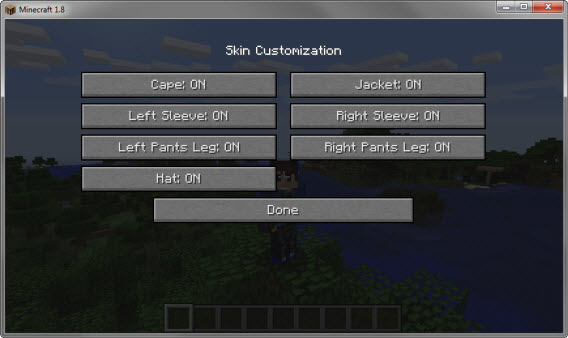
Ever since Minecraft 1.8 was launched, users can customize skins and incorporate/remove elements such as clothing items from skins without having to install any Minecraft mods. To do so, simply go to Options > Skin Customization while playing the game and try out all of the different options and toggles.
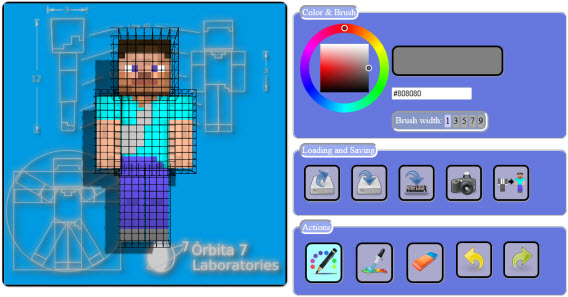
Note: If you do not like any of the skins that websites such as Skindex and MinecraftSkins have to offer, you can also pretty easily create your own skins using something like MCSkinner. All you have to do is create a .PNG image of the right size, and MCSkinner can definitely help with that. You can build on the default skin (Steve), upload an existing skin and edit it and even superimpose one skin on top of another to create new skins!
Ring of Elysium Adds New Characters and Gadget Skins With ‘Adventurer Pass’Fall Guys Season 3 Introduces New Street Fighter SkinsRainbow Six Siege ‘Invitational Packs’ Leaked, Contain Exceptional Quality Skins…BEST GUIDE: Download and Use Winamp Skins