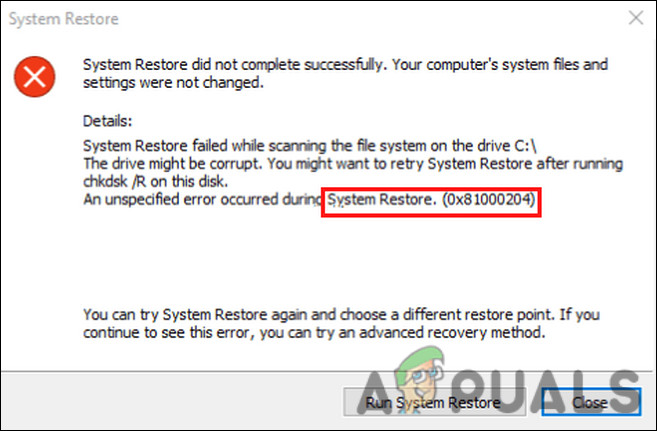
We had a look into the issue and discovered that it can be caused due to a system inconsistency, issues within the hard drive, and problematic Restore settings. Regardless of what might be causing this issue for you, we have mentioned effective troubleshooting methods in detail that will help you fix this problem and restore your system in no time.
Scan Your System Using the Built-in Utilities
If your attempt to restore the system fails, then the first thing that you should do is make use of the built-in troubleshooting utilities that come with every Windows version. Microsoft has developed these utilities to scan different components of your operating system for inconsistencies and potential issues that might be resulting in errors like the one at hand. In this method, we will demonstrate how to use CHKDSK, SFC, and DISM tools one by one. Running all these scans using Command Prompt is likely going to be a bit time-consuming, so we recommend starting working on these when you have some time on your hands.
CHKDSK Scan
The first scan that we will run is the CHKDSK scan. CHKDSK (check disk) is a system tool that helps check and repair hard drive errors and keeps your system data organized — it’s part of good computer hygiene. In its simplest form, Chkdsk analyzes the integrity of a disk volume’s file system, as well as its metadata, and fixes the issues that it identifies. Some of these issues may include corrupt entries in a volume’s master file table (MFT), incorrect security descriptors for individual files, or even incomplete or incorrect information about the size or timestamp of a particular file. Additionally, Chkdsk can also optionally look for bad sectors on a disk volume. A bad sector can be soft or hard, depending on which type was created. Soft sectors can be caused by incorrect data writing, while hard sectors are caused by physical damage. CHKDSK can fix these issues, as long as they are not hardware-related. Here is how you can run a CHKDSK command on your Windows:
SFC Scan
The next area you should look into for the potential problem is the protected system files if the chkdsk scan does not identify any bad sectors. The system files are the files that Windows depends on to function correctly. These include hardware drivers, configuration files, and DLL files, as well as the files that make up administrative tools like the Windows Registry. If any of these essential system files become corrupt or faulty, you are likely to run into errors like the one under discussion. In cases like these, the best way to move forward is to use the System File Checker. The System File Checker (SFC), as the name suggests will scan the system for corrupt files and replace the ones identified with their healthier counterparts.
DISM Scan
Once you are done executing the SFC command, the next thing you should do is run the DISM scan using Command Prompt as well. A Microsoft server allows DISM to obtain new copies of system files and substitute them for damaged, missing, or corrupt ones. DISM and SFC work well hand in hand to fix issues like the one at hand, which is why they are always recommended to use together. After you have run the DISM command as well, close the Command Prompt window and try repeating the action that was previously resulting in the System Restore error. If an inconsistency within the system files is causing the error 0x81000204, you should be able to fix it by following the methods above. However, if the error persists, move to the next method below.
Perform System Restore in Safe Mode
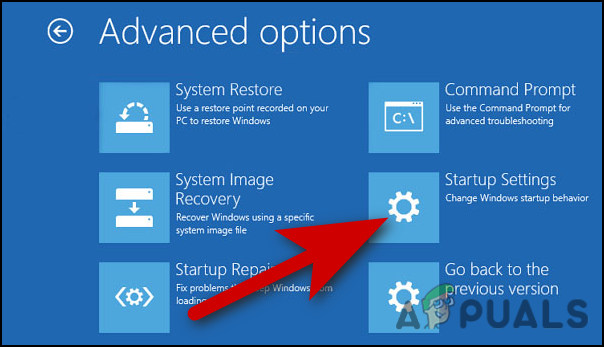
You might also be unable to perform a system restore if any of the installed applications or programs on your operating system are interfering with the process of the Restore utility. If the methods mentioned above have not worked for you, then you can try performing a system restore in the Safe Mode. In Safe Mode, Windows only launches with a minimal set of drivers and programs. These are typically the only ones that Windows requires to launch and function. Here is how you can launch your Windows in Safe Mode: If it does not, you can also try Clean booting your system while you are at it. Clean Boot mode is almost the same as Safe mode and will help you determine if a background process is the cause of the problem.
Reset System Restore Settings
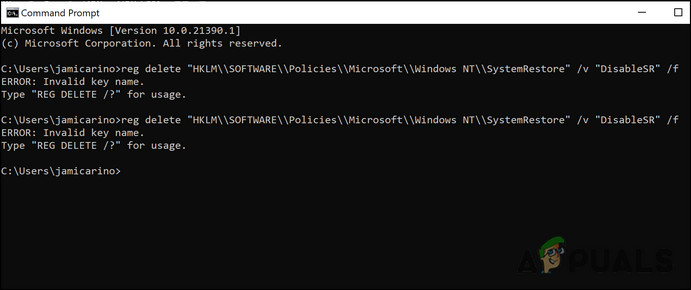
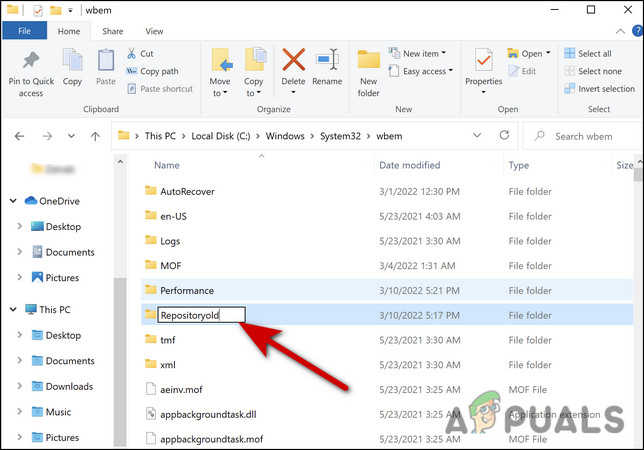
Another fix for error 0x81000204 that you can try applying is resetting the system restore settings to their default state on Windows. This solution did the trick for several users, which is why we recommend you go ahead and give it a shot. Follow these steps to proceed: If you are still encountering the error, then you can also try resetting the repository and see if that makes a difference. Follow the steps below for that:
Reset Your PC
If you have come this far without a solution and are still encountering the error 0x81000204, then there is a chance the conventional troubleshooting methods cannot resolve the corruption error behind all this. If this scenario is applicable, then the only viable solution is to reset your Windows operating system to its default state. This process will remove all the data and the changes that you made to Windows (like installing programs and downloading stuff). The process is lengthy, so you will have to be patient while performing the procedure.
Fix: To use System Restore, you must specify which Windows Installation to…Fix: System Restore Failed to Extract the File from the Restore PointHow to Fix System Restore Error 0xc0000020 on Windows 10?How to Fix System Restore Point Error Code 0x80042308 on Windows 10?


