So next time whenever you boot your computer, Windows will check for any errors and fix them if necessary. This ‘checking’ might take a very long time. By very mean hours according to several user reports.
What to do if the checking is stuck?
In many cases, the scanning and repairing dialogue gets stuck on a percentage for a very long time. In some cases, this longtime extended to 2-3 hours being stuck on a single percentage. What to do? There are two methods through which you can solve this annoying problem. Either you can wait for the process to complete or you can press space as soon as Windows boots up (or keep pressing it). Do note that if you choose to select the first option, you may have to wait up to 24 hours straight. There were some cases where users had to wait a significant amount of time before they could access their computer. Nonetheless, we will try to help you solve the problem within no time.
Solution 1: Removing all USB Devices
If you have several USB devices or external hard drives connected to your computer, it is possible that the operating system is trying to perform the scan operation on them and this might be taking the extra time.
If your computer is stuck for a very long time on a single percentage, you should turn off your computer completely and unplug all the USB devices one by one. Just to be sure, make sure that you also unplug all the external peripherals including USB mouse and keyboard. Once you have unplugged all the devices, restart your computer and let the process carry on. It might take a lot of time starting from 0% but patience is the key!
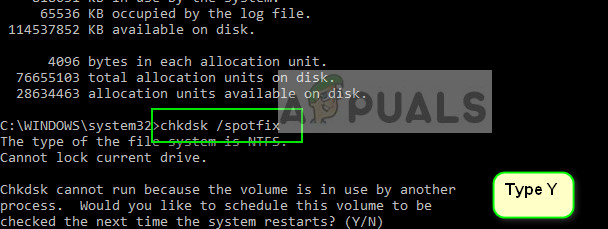
Solution 2: Checking Disk using Safe Mode
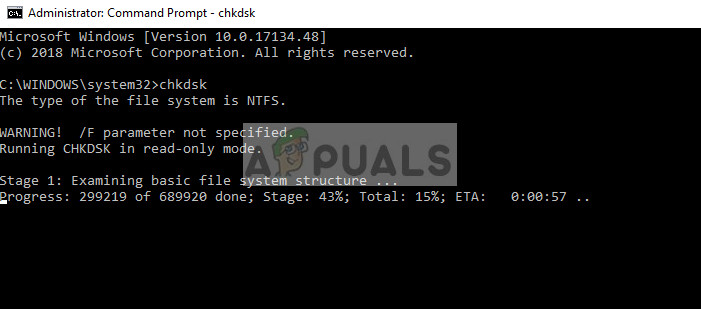
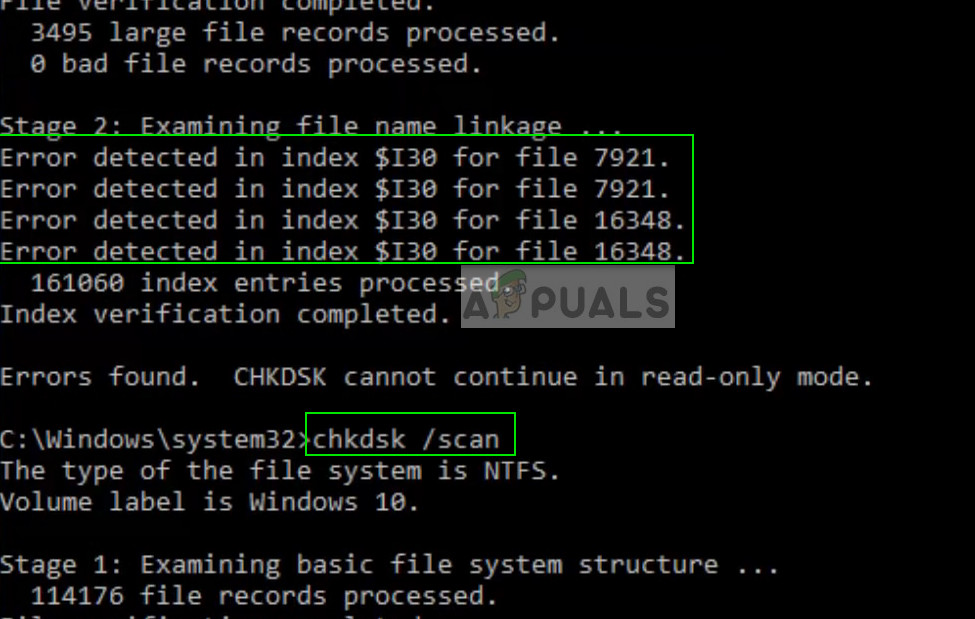
If you are stuck in the checking disk loop for a very long time, you can try entering into safe mode and then perform the check disk. If any errors are present, we will enter some further commands and when Windows boots up in normal mode, the process will be super quick with no delays.
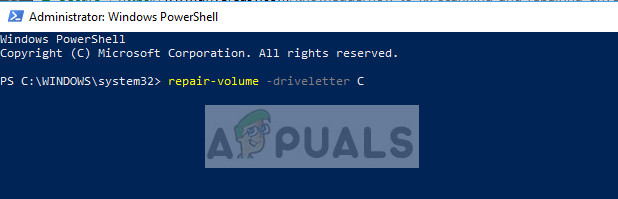
Solution 3: Running Repair-Volume –DriveLetter Command
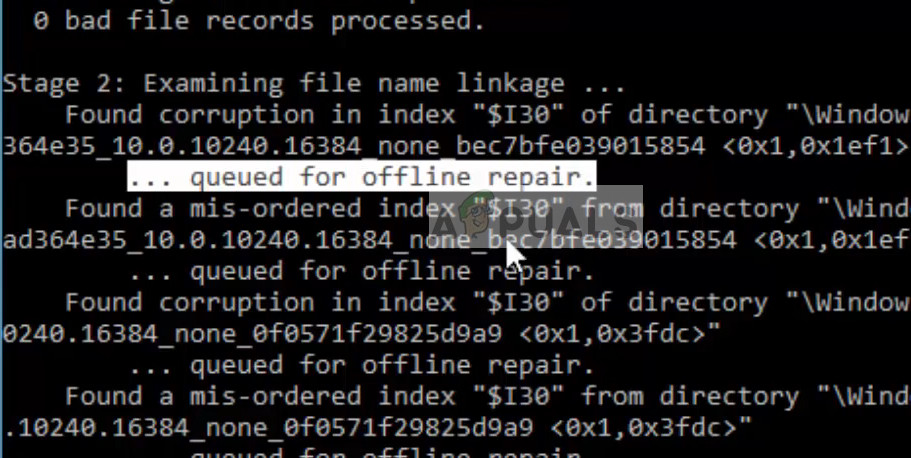
If Solution 2 doesn’t work out, you can utilize another command to repair your disk while in Safe mode. This command also detects and fixes drive errors similar to check disk and if successful, will ensure that you do not get stuck at some specific percentage.
Here the letter “C” at the end signifies that you wish to repair the volume C. After the repairing process is done, restart your computer and check if our condition got solved.
What to do none of the methods work?
If none of the methods work and you are stuck on the checking disk prompt at a certain percentage for a large amount of time, you need to wait patiently. Like we explained above, the solutions are just ‘workarounds’. They might work for some and not for others. If they do not work for you, need not to worry. The disk checking will continue but will eventually proceed to completion. There were also many indications that after being stuck at a certain percentage, it jumps to 100% all of sudden. So patience is the key. If even after prolonged periods of time, say 2 days, you are unable to access your computer and the disk check is constantly running, it probably means there are some errors associated with your drive. It is best to plug the drive into some other computer or get it checked by a technician. If you are booting from an external drive, you might experience this error and might have to consider shifting your OS. Before getting your drive checked, you should boot into safe mode and backup all of your data completely.
Troubleshoot Windows 10 Stuck on “Repairing Disk Errors"Windows 10 OS September 2019 Update Causing Windows Defender Failure In Scanning…How to Fix GeForce Experience Scanning Failed Error on Windows?Samsung Collaborates With iFixit to Offer Self-Repairing to Users