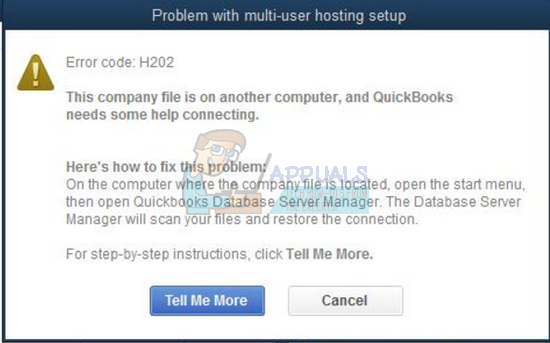
Additionally, another situation where this error might appear is the multi-user environment especially if you are trying to work with a company file which is not located on your own computer. This error occurs if QuickBooks is trying to establish a connection to the company file but they are simply unable to do so because of many different reasons.
Make sure you follow the instructions presented in this article carefully in order to find out about a couple of useful methods for solving this problem.
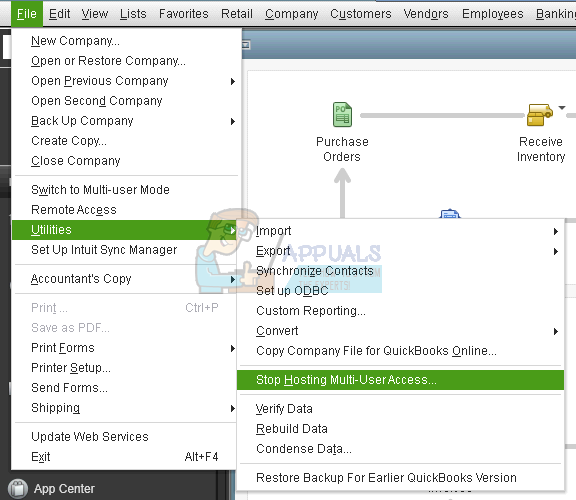
Solution 1: Verify the Hosting Process
Since this error often occurs in the multi-user environment where one computer (the server) serves as a host, you absolutely need to make sure that only one computer has the hosting option enabled by following the steps below for each computer or workstation related to the project except for the hosting computer.
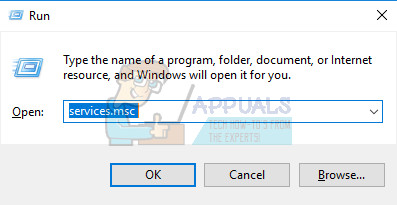
Solution 2: Check to See if Proper Services are Running
This solution and the settings below which need to be tweaked are related to the server computer or the host which should have the option displayed in Solution 1 enabled. There are a couple of services which need to be running at all times on the server computer (QuickbooksDBXX and QBCFMonitorService) so let’s make sure they are.
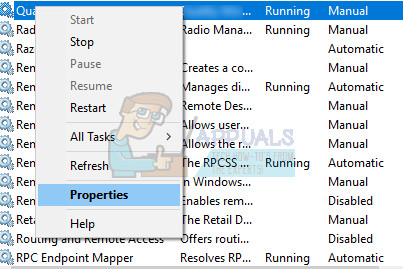
After you have successfully open Services, follow the instructions below.
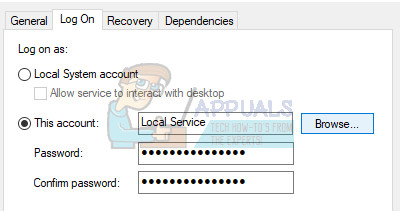
The service should start now and you won’t have any problems dealing with it in the future. However, you may receive the following error message when you click on Start: “Windows could not start the QuickbooksDBXX service on Local Computer. Error 1079: The account specified for this service differs from the account specified for other services running in the same process.” If this occurs, follow the instructions below to fix it.
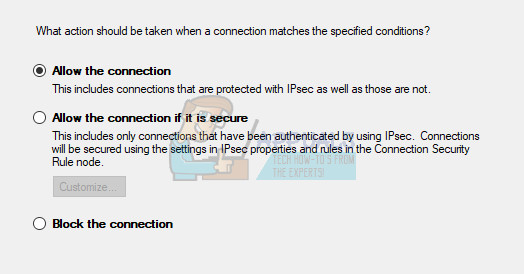
Solution 3: Open the Network Ports QuickBooks Uses to Transmit Data
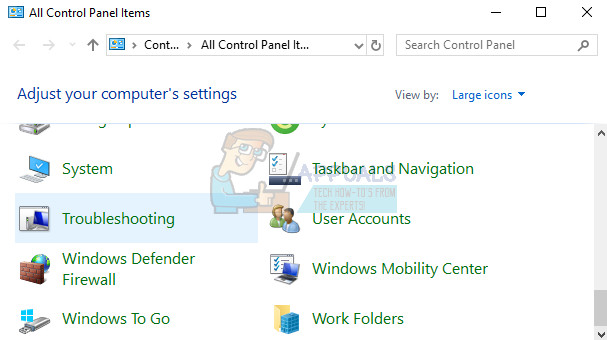
Firewalls can prevent QuickBooks from accessing the Internet properly and that is a major concern. Different firewalls may be installed on your computer but it’s not recommended to use more than one. Let’s take a look at how to make sure QuickBooks files are not blocked by Windows Firewall:
QuickBooks Desktop 2018: 8019, 56728, 55378-55382 QuickBooks Desktop 2017: 8019, 56727, 55373-55377 QuickBooks Desktop 2016: 8019, 56726, 55368-55372 QuickBooks Desktop 2015: 8019, 56725, 55363-55367
Solution 4: Editing the Host File on Windows
Sometimes it may be necessary to edit the Windows hosts file and add your Web server there in order to add this server to the whitelist. This is a somewhat advanced process and you should always make sure you follow the instructions carefully. You will need to have Administrator access in order to proceed so make sure you login with your administrator account.
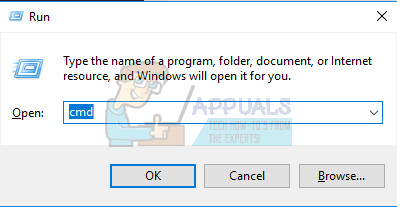
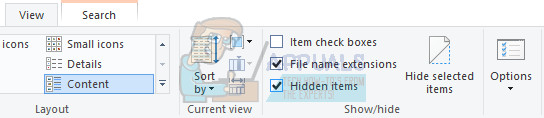
The next thing we need to do is to simply edit the Windows Hosts file. C:\Windows\System32\Drivers\Etc OR C:\Windows\Syswow64\Drivers\Etc. Note: If you are not able to see the Windows folder in This PC » Local Disk C, you will need to make sure you are able to view the hidden files and folders by following the steps below:
How to Fix ‘Error Code -6098,0’ on QuickBooks?How to Fix QuickBooks Error Code ‘80029c4a’ on Windows 10How to Fix QuickBooks Error Code 3371Fix: QuickBooks Error Code 6000