After we’ve investigated this issue thoroughly, we realized that there are actually several different underlying causes that might ultimately cause this BSOD pointing towards the Microsoft Game Input process. Here’s a short list of scenarios that might be ultimately causing this critical error on Windows 11: Now that we went over every potential cause that might ultimately trigger this error on Windows 11, let’s go over a series of fixes that other affected users have successfully used to prevent the BSOD from ever occurring again (or at least lessen its frequency).
1. Install every pending Windows update
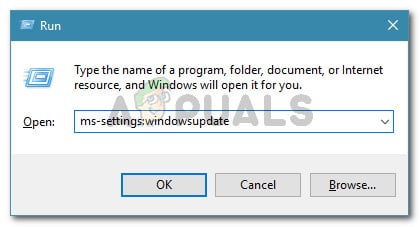
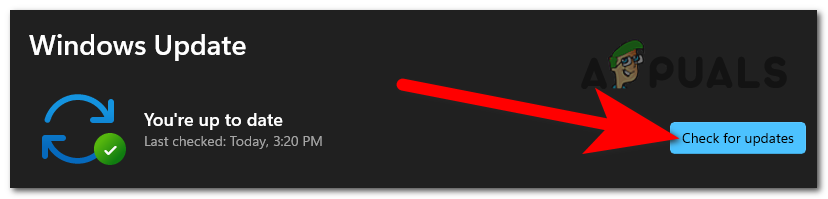
As it turns out, if your Windows 11 PC is missing a crucial feature update for the Microsoft Store component, this “Microsoft Game Input” BSOD may occur inadvertently. Simply access the Windows Update component and install the pending update to cure this problem. The simplest approach to install it is to enter the Windows Update component and set it to automatically install all pending updates since Microsoft has already produced an update designed to address this problem and it is now available through all channels. Several people who are also experiencing the hotspot issue that we are have reported that the problem resolved itself once they made sure that Windows 11 was updated to the most recent version. How to do it is as follows: Continue to the next technique below if you’re still seeing the same BSOD (pointing at the Game Input process).
2. Test your RAM
You might also anticipate experiencing this problem if a component of your RAM starts to malfunction. You should stress test your RAM sticks to check if any of them need to be changed in order to confirm this notion. The Microsoft Game Input BSOD error is frequently linked to a memory problem. You should also take the time to test your RAM stick(s) to check if there’s a problem with them that could cause your OS to default to a critical crash whenever it has no other choice if the aforementioned procedure has brought you near to probable offenders. If you have dual-channel RAM installed, you can start troubleshooting by removing just one stick to check if the error persists. Additionally, you ought to check the integrity of your RAM stick(s) using a program like Memtest. Important: If your RAM is already overclocked, we advise reversing any voltage overclocked frequency and using a program like HWMonitor to monitor your temps while performing a stress test. You are essentially left with no choice but to hunt for a replacement if performing a Memtest program on your RAM has identified a memory problem. You should move on to the next potential solution below if this method didn’t help you identify a fundamental RAM problem.
3. Reinstall Chipset drivers
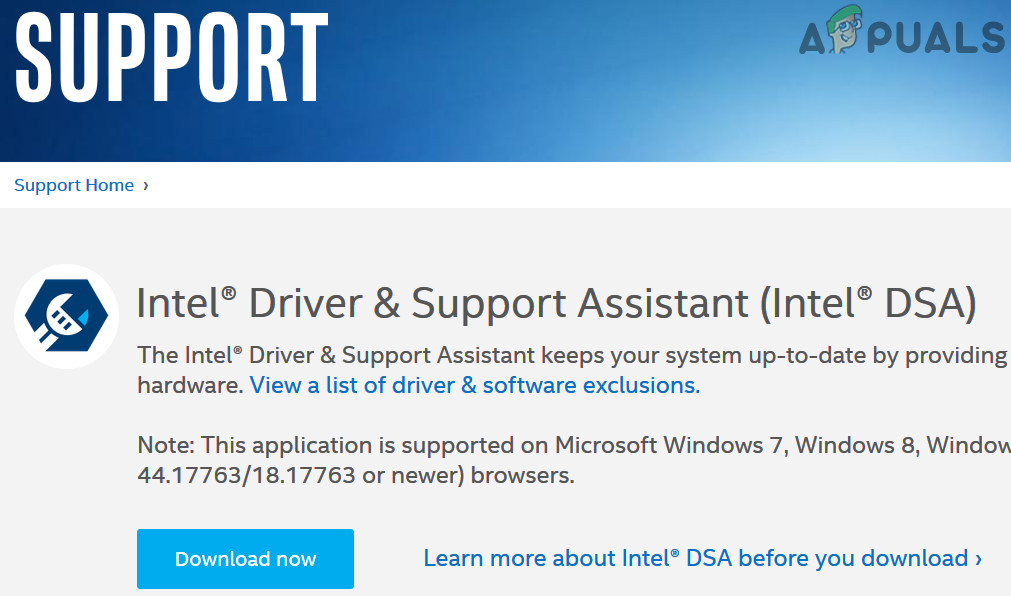
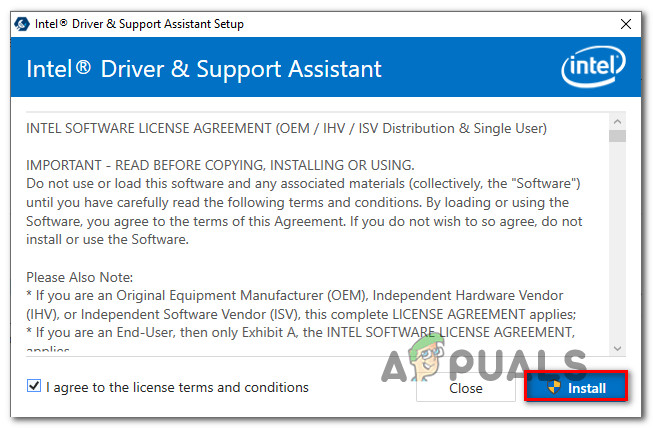
Make sure your chipset drivers are up to date for Windows 11 if you’ve upgraded from an earlier version of Windows to Windows 11. This is one of the first things you should do. It turns out that this specific problem frequently arises when you’re utilizing a motherboard that is intended to function with an Intel chipset driver. The necessary chipset drivers should be installed by your operating system automatically if you’re using Windows 11. But if you want to stop the BSOD crashes from happening, you probably need to do so manually on older versions of Windows (or if your copy of Windows is not active). Here is a simple tutorial for using the Intel Driver & Support Assistant (Intel DSA) to automatically install the necessary Intel Chipset drivers: Continue to the next method below if you’re still experiencing BSOD crashes linked to the “Microsoft Game Input” process even after you’ve used the Intel Support Assistant to update the chipset drivers.
4. Update BIOS or UEFI Drivers
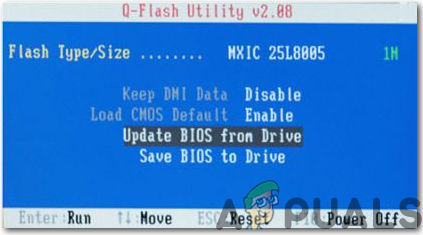
If your BIOS version dates from before Windows 11’s official debut, there is no official support for this OS at the kernel level, and this could indirectly be caused by an obsolete BIOS or UEFI interface. You must update your BIOS or UEFI to the most recent version available in order to fix this problem. In certain circumstances, an outdated BIOS version that wasn’t fully compliant with Windows 11’s new security protocols was the main culprit behind this kind of issue. To make sure that this isn’t the cause of the issue, you should be able to fix it by flashing your BIOS with the most recent version available. You could look into your BIOS as well because it’s another possible offender. Several impacted consumers assert that the problem was fully resolved after updating their BIOS firmware to the most recent version. With ASUS PCs, this technique has mainly been demonstrated to be effective. It’s uncommon for an outdated BIOS version to cause system instability, especially on older motherboards. The big motherboard manufacturers now all offer flashing software that enables you to do so without needing to be extremely tech-savvy, so changing your motherboard’s BIOS isn’t as difficult as it once was. The best step to take is to go to the website of the manufacturer of your motherboard and search the Drivers Download section for a BIOS updating tool. E-Z Flash by ASUS, MFlash by MSI, @BIOS Live Update by Gigabyte, and so forth. Note: Before beginning the upgrade procedure, read the official documentation in its entirety, regardless of who made your BIOS. A knowledgeable professional should be consulted if you want to avoid bricking the hardware by doing this method wrong. Follow the on-screen instructions to update your BIOS, then after restarting your computer, check to see whether you can boot with the secure boot feature activated. If you already have the most recent BIOS for your motherboard or if updating didn’t work for you, try the next method below.
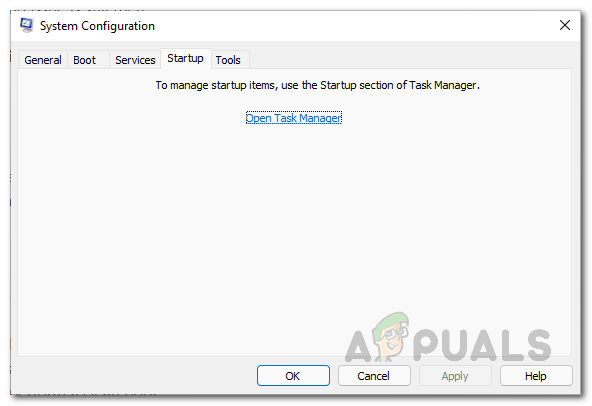
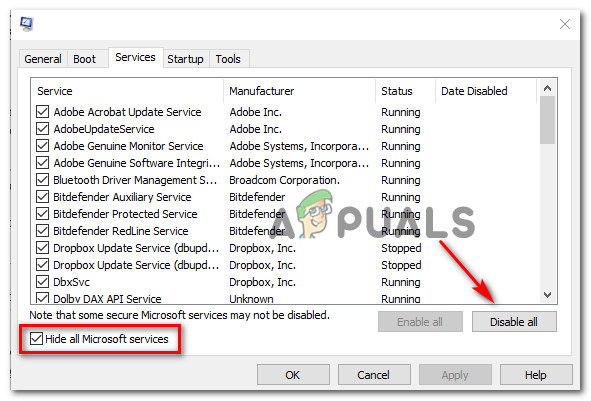
5. Perform a clean boot
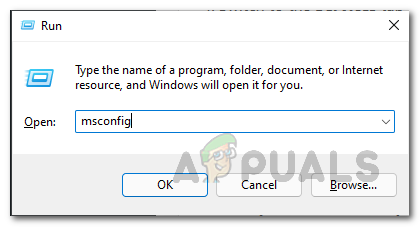
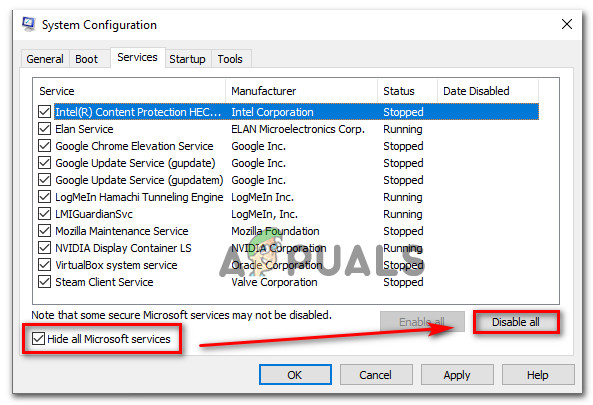
There’s a potential you’re dealing with this form of BSOD because of interference from a third party if you’re only encountering this problem at certain times. The best thing you can do is conduct a clean boot and then gradually re-enable each service, starting item, or process until you identify the culprit because it’s impossible to make a complete list of every potential culprit. In this situation, you should be able to resolve the problem by starting in clean boot mode and following a set of procedures to look for a software conflict and pinpoint the problematic service or process. Your machine will boot without any third-party services, processes, or startup items in order to establish a clean boot state, which may prevent the appearance of this issue. The detailed procedures for achieving this clean boot condition are provided below: If you were unable to resolve the problem using this approach, proceed to the probable solution below.
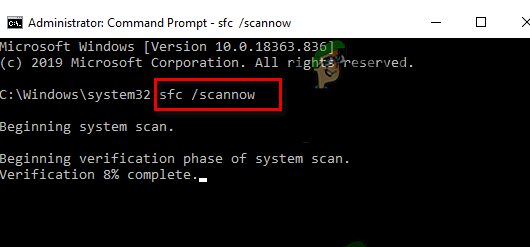
6. Deploy SFC & DISM scans
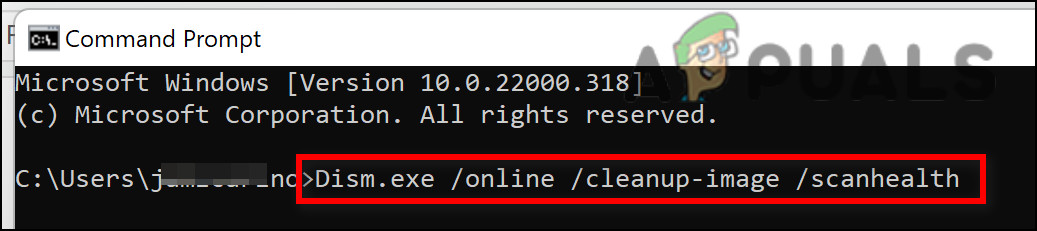
If the clean boot procedure above didn’t allow you to fix the ‘Microsoft Game Input’ error, the next thing you should do is troubleshoot against potential system corruption issues. The vast majority of probable problems that could be causing this error code can be fixed by quickly executing SFC (System File Checker) and DISM (Deployment Image Servicing and Management) scans. The two built-in programs are somewhat similar, but to improve your chances of fixing the problem without needing to perform a clean install or repair install, we advise performing both types of scans quickly after one another. An SFC scan should be your first step. NO Internet connection is needed because this scan will use a local archive to replace damaged Windows files with healthy ones. Avoid restarting or shutting down your computer or closing the elevated CMD window after commencing this process. By doing this, you run the chance of additional local problems harming your HDD or SSD on your PC. Restart your computer after the SFC scan is finished, then start a DISM scan when it starts back up. Note: Unlike an SFC scan, DISM needs a steady Internet connection in order to swap out faulty files for their healthy counterparts. This is required because DISM downloads fresh copies that are untouched by corruption utilizing a component of Windows Update rather than a local file archive like SFC. Restart your computer one last time when the DISM scan is finished, then check to see if the issue has been resolved. Continue to the next possible solution below if the issue is still present.
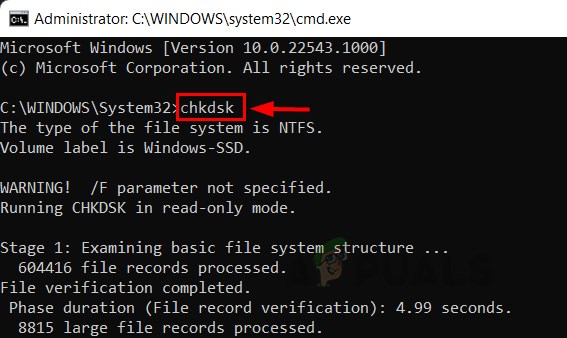
7. Deploy a CHKDSK scan
It turns out that this specific issue could potentially result from a number of failing storage sectors. The only thing you should do in this situation (apart from upgrading the drive) is to run a CHKDSK scan in an effort to replace the corrupted items with their unused counterparts. If you ever find yourself in this situation, run a CHKDSK (Check Disk Scan) to make sure that no logical sectors are to blame for your strange behavior. If this is what caused the critical crash, CHKDSK will swap out the damaged logical sectors for their healthy, unused counterparts. Note: Every current Windows version, including Windows 7 and Windows 8.1, comes with CHKDSK pre-installed. Important: If the tool finds some unrepairable corrupted sectors, you can infer that the drive is failing and you should start looking for a replacement right once. If you’ve already run a CHKDSK scan and the problem is still there, continue to the next possible solution below.
8. Create a new Windows account
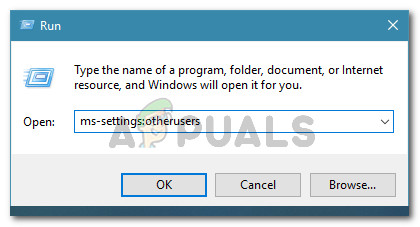
Many people who have experienced this problem claim that it might also happen because your currently logged-in Windows account is corrupt, according to multiple afflicted users. Several concerned individuals who were experiencing the same type of issue have indicated that they were able to resolve it by either creating a new account or switching to a local account. To be sure your current account is not the issue, create a new Windows account (it can be local) and restart the remote desktop service. It’s vital to understand that by doing this operation, all damaged dependencies linked to your current user profile will be removed. You can avoid the ‘Microsoft Game Input’ BSOD error entirely by using the following procedure to create a new user account: Continue to the next method below if the same “Microsoft Game Input” BSOD problem persists.
9. Use System Restore
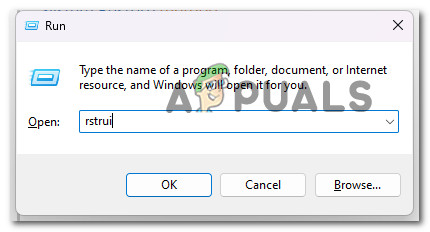
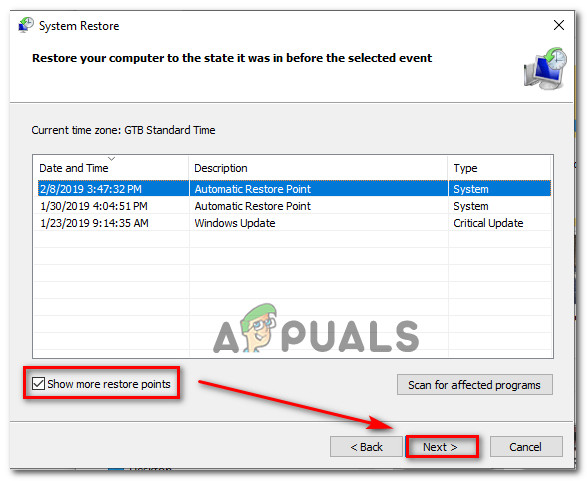
If all else fails, you can attempt to resolve the “Microsoft Game Input BSOD” by reverting your PC to an earlier system restore point when this pesky critical crash was not occurring. This has helped several users find a solution to the problem. You can restore your computer to a previous state using Windows’ System Restore feature. To get your computer back in working order, follow these steps: Continue to the final method below in the event that the issue is still not resolved.
10. Perform a clean install or repair install
If you’ve tried every solution given in this article so far and are still getting the BSOD warning “Microsoft Game Input,” you most definitely have a serious corruption problem. To ensure that every instance of faulty system files is eliminated in this situation, you must restart every component of Windows. A clean install, which accomplishes the work while also wiping all personal data, including programs, games, media, and documents, is the option most users choose. Selecting a repair install will allow you to upgrade your Windows components in a less extreme manner without risking any damage to your personal property (games, apps, images, papers, etc.). You can preserve all of your personal info using this way.
How to Fix Memory_Management Error (Blue Screen of Death) on WindowsFix: CLOCK_WATCHDOG_TIMEOUT Blue Screen of Death on Windows 10Fix: Wificx.sys Blue Screen of Death on Windows 10/11[FIX] Windows Update - KB5000802 Blue Screen of Death (BSOD)