Final Preparations
Before trying the first method, you need to do the following things.
Check if you are using the original (or MFi-certified) USB lightning cable.Make sure your iDevice is connected to the computer.Make sure you’re not using a jailbroken iDevice.
iTunes Could Not Backup/Restore Fix #1
Try using another USB cable while backing up your iDevice. Make sure it an MFi-certified one. (You can borrow one from your family members or friends to try out.)
iTunes Could Not Backup/Restore Fix #2
Remove any USB hubs (or keyboard with USB slots) between your iDevice and your computer. (Connect your USB cable directly to your computer).
iTunes Could Not Backup/Restore Fix #3
Try switching the USB ports on the computer. One of them may be the problem.
iTunes Could Not Backup/Restore Fix #4
Restart the computer you are using for the restore. This will fix the potential USB connection failures.
iTunes Could Not Backup/Restore Fix #5
Reboot the iDevice you are restoring or backing up. (Turn it off and then turn it back on after 10-20 seconds.)
iTunes Could Not Backup/Restore Fix #6
Reset your iDevice’s Network Settings. Open Settings and go to General > Reset > Reset Network Settings. Resetting these settings will NOT delete any data from your iDevice. However, it will remove the network settings (Wi-Fi passwords and adjustments).
iTunes Could Not Backup/Restore Fix #7
Turn OFF Background App Refresh on your iDevice. Go to Settings > General > Background App Refresh > OFF. (Do not forget to turn it back on after you finish with the backup procedure.)
iTunes Could Not Backup/Restore Fix #8
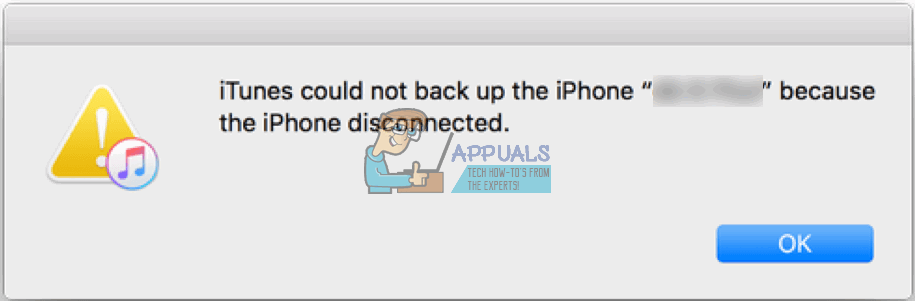
Try turning on Airplane Mode and Low Power Mode. (In some cases, users have to combine these two with turning the Background App Refresh OFF to complete the restore or backup.) If you get to this point, and you still can’t RESTORE your iDevice, the problem is likely caused by the backup file you are using. The following methods work only for solving “iTunes could NOT BACKUP iPhone Because the iPhone Disconnected.”
iTunes Could Not Backup Fix #9
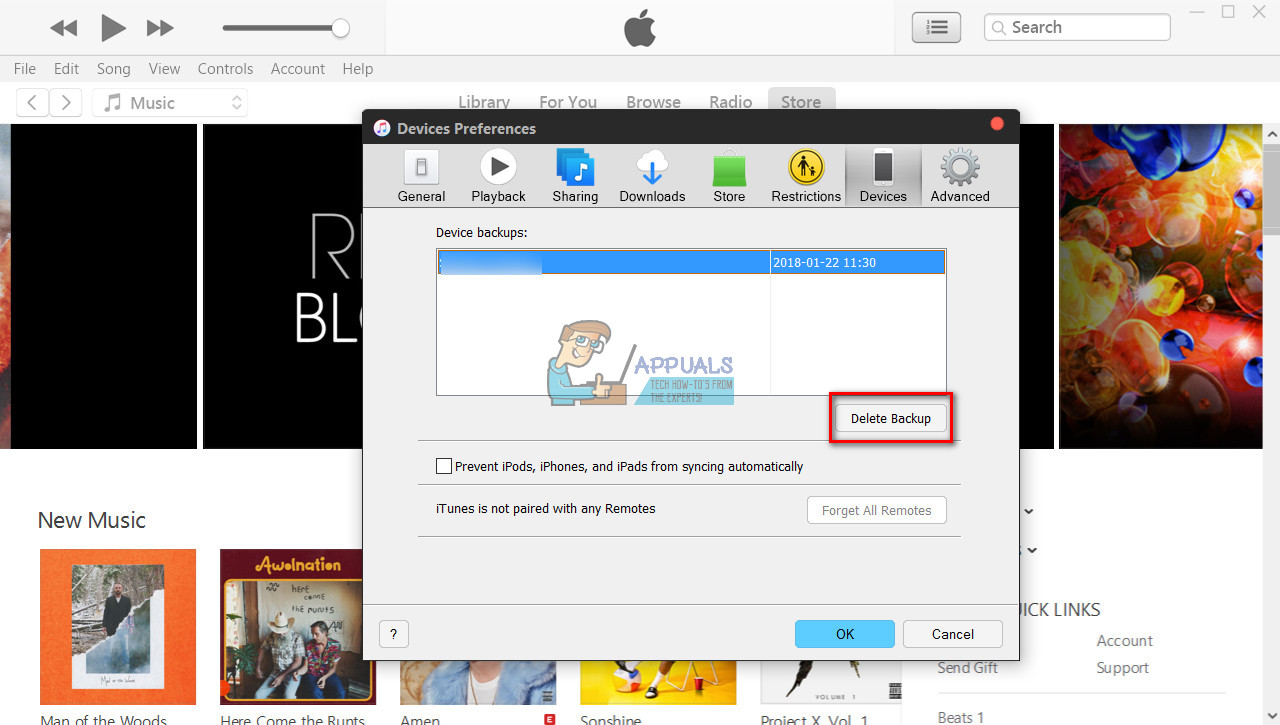
Delete the backup file. It is possible that it is corrupted. And, that may cause reading or updating errors. To delete it, launch iTunes on your computer, go to Preferences (Edit > Preferences on Windows), and click on Devices. Now, select the backup file and delete it.
iTunes Could Not Backup Fix #10
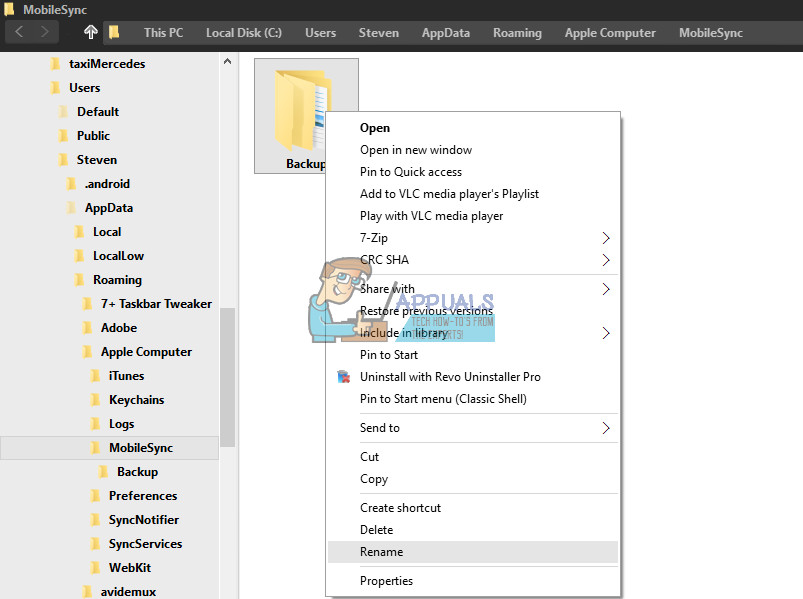
Rename the iTunes Backup folder. If one or more backup files are corrupted renaming the backup folder will fix the problem. On Macs, the backups are located in /Users/your username/Library/Application Support/MobileSync/Backup. Here is how to get there. OR On PCs, the backups are located in C:\Users\your username\AppData\Roaming\Apple Computer\MobileSync\Backup. Here is how to get there.
On Windows 7 or below, click on Start, choose Run, type “%appdata%” (without the quotes) and press Enter. Now, navigate to Apple Computers > MobileSync > Backup.On Windows 8 or above, click Start (or Search), type “%appdata%” (without the quotes) and press Enter. Now, navigate to Apple Computers > MobileSync > Backup.
Rename the Backup folder (into Backus.old for example) and try if that solved the problem.
Final Words
Performing these troubleshooting methods solved the problem for many iFolks out there. Make sure you let us know which one worked for you! Additionally, if you are aware of some other useful methods, we would really appreciate if you could share them in the comment section below.
Fix: The Media Could Not be Loaded, Either Because the Server or Network Failed…Fix: iTunes could not connect to the iphone because an invalid response was…Fix: “iTunes could not restore the iPhone or iPad due to corrupt or…How to Backup Your iPhone on iTunes for the First Time