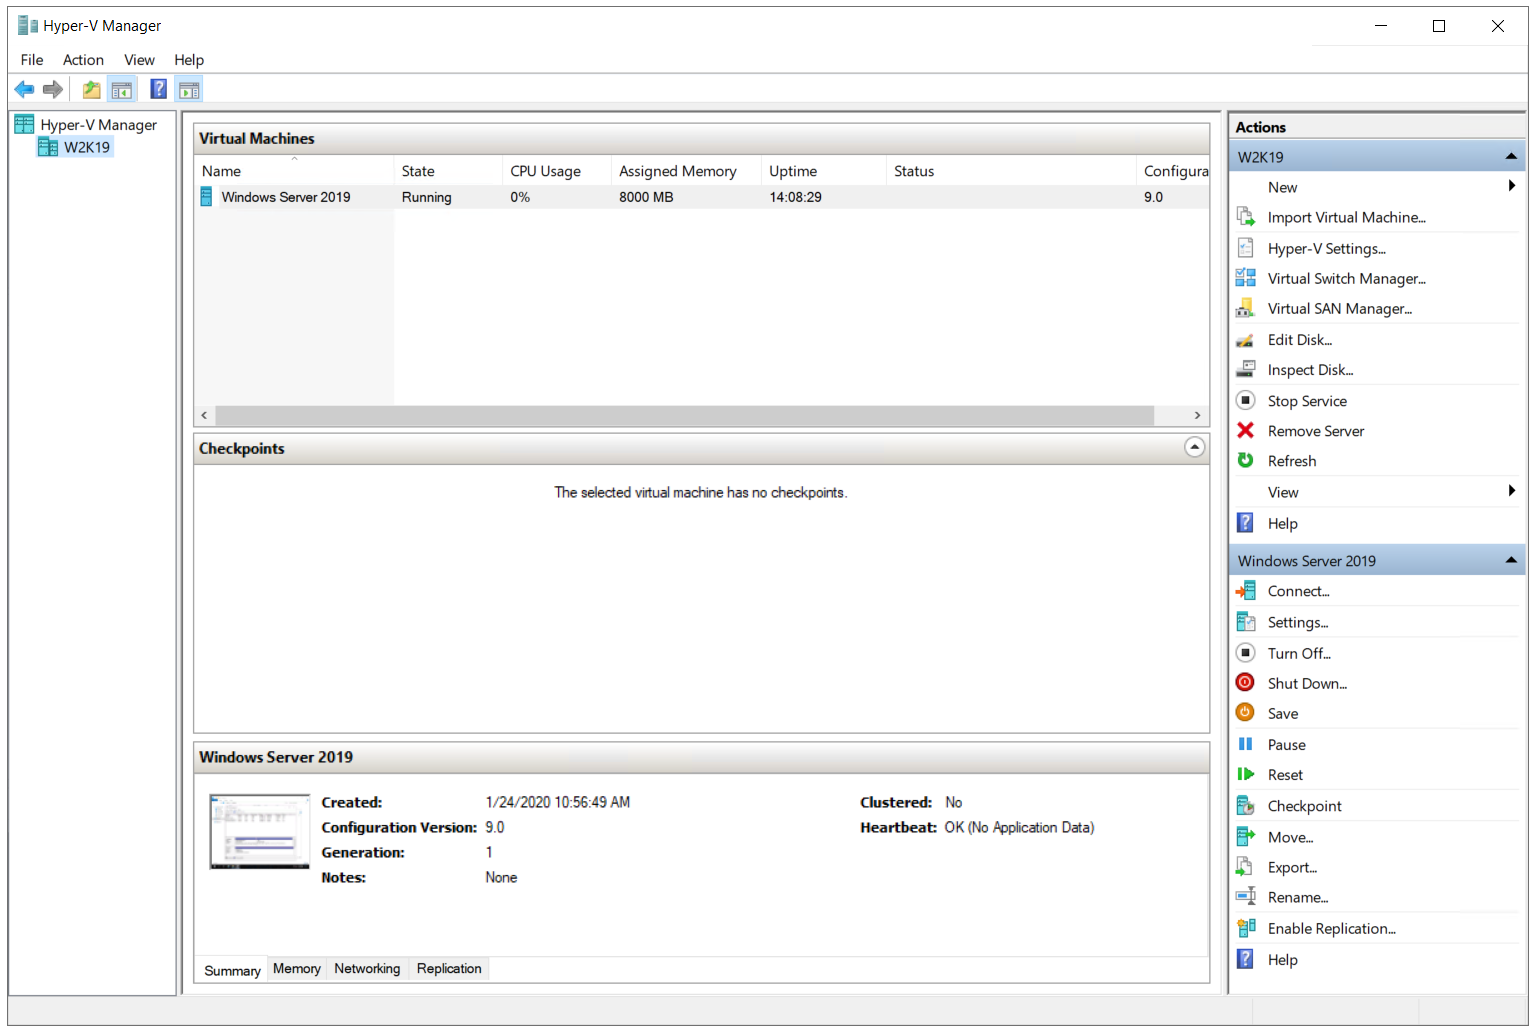
In this article, we will walk you through the different actions and explain what their purpose is. In order to see, please open Hyper-V Manager on your Windows Server 2019 or Windows 10. On the right side, you can see different actions which we will explore in the next two parts.
Actions for configuring a host
In the first part, we will cover the different actions from the host perspective. NEW – used to create a new virtual machine, virtual hard disk or floppy hard disk. Once you choose one of the options, it will open the wizard which walks you through the procedure of creating the virtual machine, virtual disk or floppy disk. We already talked about the procedure in the previous articles. In order to create a virtual machine, please check the article Create Your First Virtual Machine in Hyper-V 2019 and if you want to create a virtual disk, please check the article. IMPORT VIRTUAL MACHINE – Import the virtual machine to the Hyper-V virtualization server. In order to import the virtual machine, please check the article Exporting and Importing Virtual Machines in Hyper-V 2019 HYPER-V SETTINGS – change a different setting on the virtualization server VIRTUAL SWITCH MANAGER – create virtual network adapters or change their settings. We can create three different virtual switches including External, Internal and Private. You can find the difference between them in the article VIRTUAL SAN MANAGER – create Virtual Fibre Channel Storage Area Network or change their settings. EDIT DISK – edit the virtual hard disk that is stored as .vhd or .vhdx. To edit a virtual hard disk, you will need to know the location of the associated file. INSPECT DISK – inspect the virtual disk. To inspect a virtual hard disk, you will need to know the location of the associated file. STOP SERVICE – Stops the Virtual Machine Service on the computer REMOVE SERVER – removes the selected virtualization server from the MMC Console REFRESH – refreshes all of the virtual machines and checkpoint information for this server VIEW – contains commands for customizing the window HELP – used to access help for Microsoft operating systems
Actions for configuring a Virtual Machine
In this part, we will walk you through the different actions that can be used to work with the virtual machines. CONNECT – it is used to connect to the virtual machine. The connection is done through the Virtual Machine Connection tool. SETTINGS – configure different settings on the selected virtual machine from the hardware resources to the different management options TURN OFF –Turn off the selected virtual machine SHUT DOWN –Tells the operating system within the selected virtual machine to shut down SAVE – Saves the state of the selected virtual machine PAUSE – Pauses the selected virtual machine RESET – Reset the selected virtual machine CHECKPOINT – create checkpoint or checkpoint for the select virtual machine MOVE – move a virtual machine or its storage to another location. In order to move the machine or its storage, please check the article Moving VMs from one location to another using Hyper-V 2019 EXPORT – export the selected virtual machine to the file. In order to move the virtual machine, please check the article Exporting and Importing Virtual Machines in Hyper-V 2019 RENAME – change the name of the virtual machine ENABLE REPLICATION – enables replication to the selected virtual machine HELP – used to access help for Microsoft operating systems
What are the Shortcut Keys For ‘Fill’ Related Actions in Adobe PhotoshopFix: ‘Actions Recommended’ Warning in Windows DefenderGoogle Pushes Assistant Shortcuts Once Again For Ease of Quick ActionsHow To Add Custom Actions on Your Android Home Button